The Nanaimo Bar is a classic Canadian no-bake dessert named after Nanaimo, British Columbia. It first appeared in 1953 in a cookbook recipe by Edith Adams. This sweet treat is considered Canada’s own and part of our culinary heritage!
Upon further investigation, however, it appears that our beloved Nanaimo Bar has been around in different variations and various names for some time: The New York Bar (or The New Yorker), The New Brunswick Bar, The London Fog Bar (also published in 1953 in Vancouver), as well as “Mabel’s Squares”, a 1954 recipe by Mrs. Harold Payne in The Country Women’s Favourites for the Upper Gloucester Women’s Institute (New Brunswick). Some date the dessert back to 1930 as “chocolate fridge cake”.
One thing is certain: the people of Nanaimo have claimed it as their own and mobilized to have it named “Canada’s favourite confection”. (Shhh, don’t tell them in the US, they think that these are “prayer candy” (Minnesota) and, in New York, restaurants have sold them as “Dirt Candy”)! You can also buy them in Laos, Taiwan and Spain!
In true Canadian fashion, the recipe for Nanaimo bars came to Pete’s house via his mother, Aase, a Danish immigrant who found the recipe in a magazine (there was no internet or Google back then) and Pete’s family grew up happily eating “New Yorkers”.
I asked my step-daughter, Katharine, the resident master baker and dessert-maker extraordinaire, to make their family recipe for this Canada dessert post. All photos and baking are by Katharine. Thanks, Katharine, for all the tips!
Variations? There are many variations of, and recipes for, the Nanaimo Bars out there. Some people will swear that they have to have shredded coconut or nut in the base. Feel free to add either, or hey, go crazy and add both. As noted above, this is the tried and true family recipe.
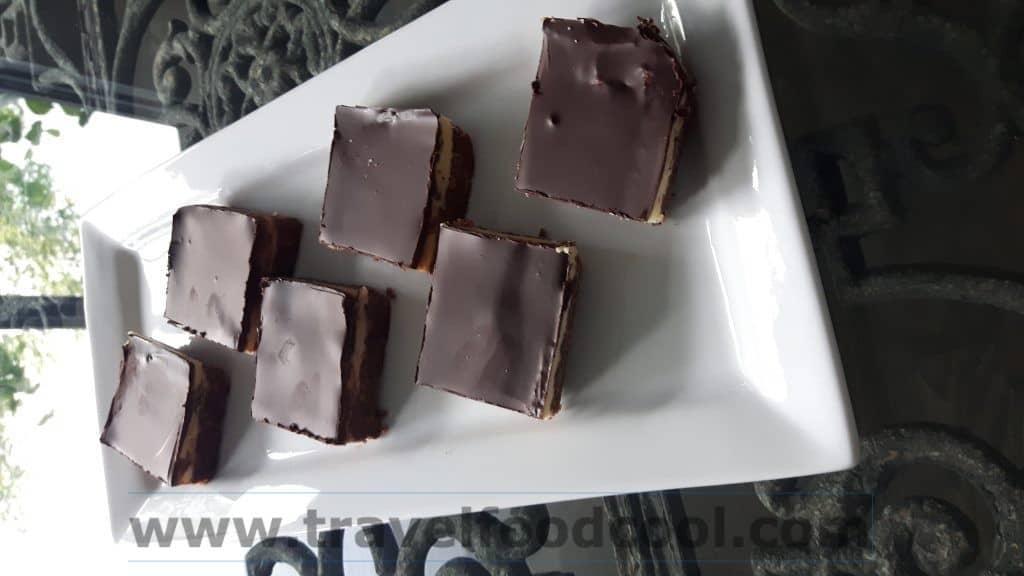
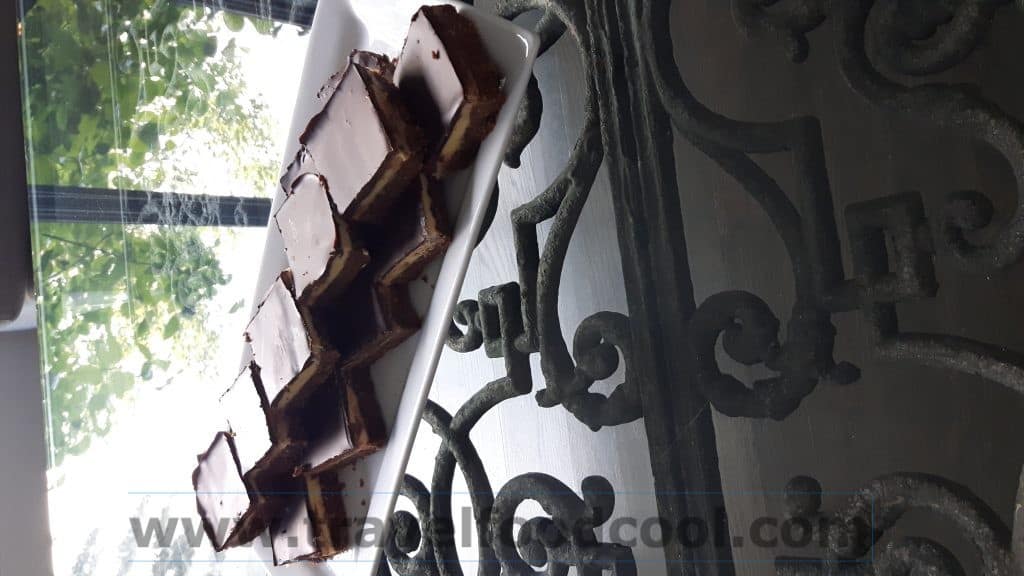
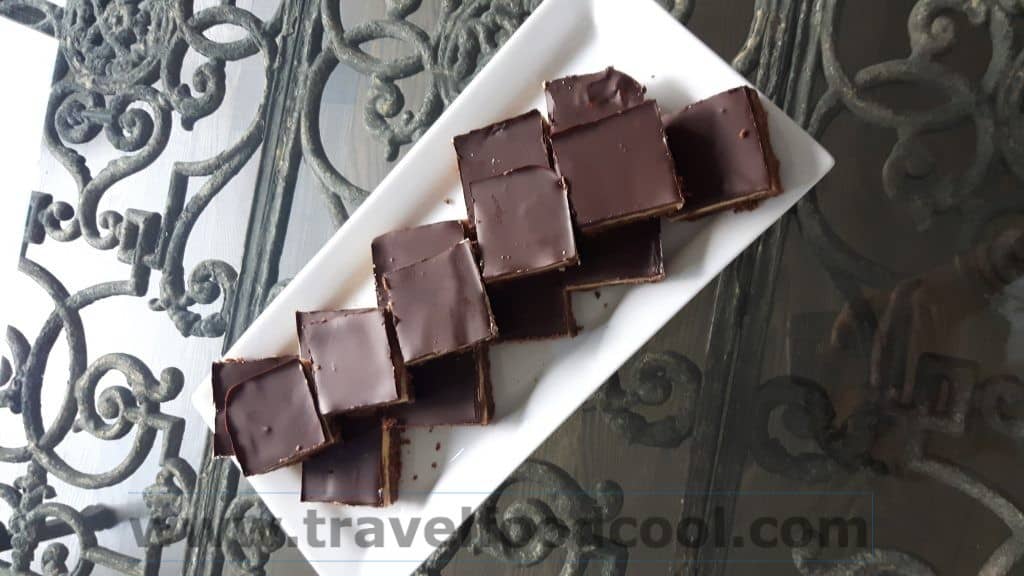
Nanaimo Bars – New Yorker Style
Prep time: 30 minutes; Cook time: 1 hour + 1 hour chill time; Serves: 16 pieces (1 – 16)
What you need:
Bottom Layer:

- ½ cup unsalted butter
- 1/2 cup sugar
- pinch of salt
- 1 egg beaten
- 2 cups graham wafer crumbs
- 1 tsp vanilla
- 2 squares (2 oz) semi-sweet or bittersweet chocolate
Second layer:
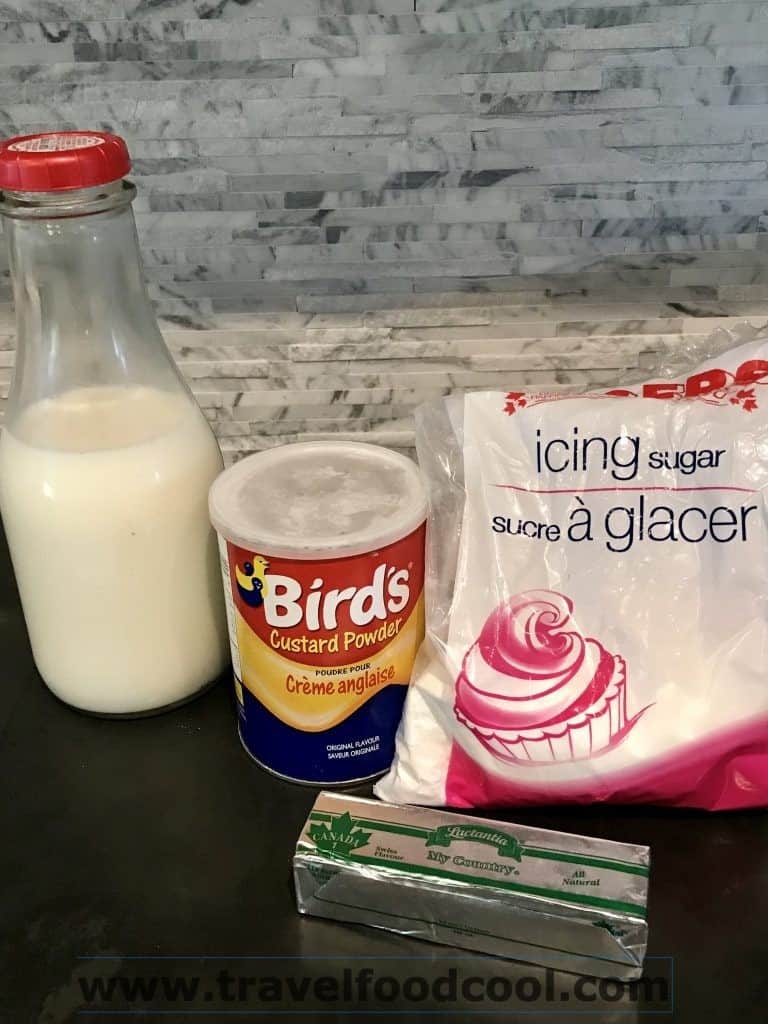
- 1/4 cup unsalted butter
- 2 tbsp milk
- 2 tbsp custard powder
- 2 cups icing sugar
Third Layer:
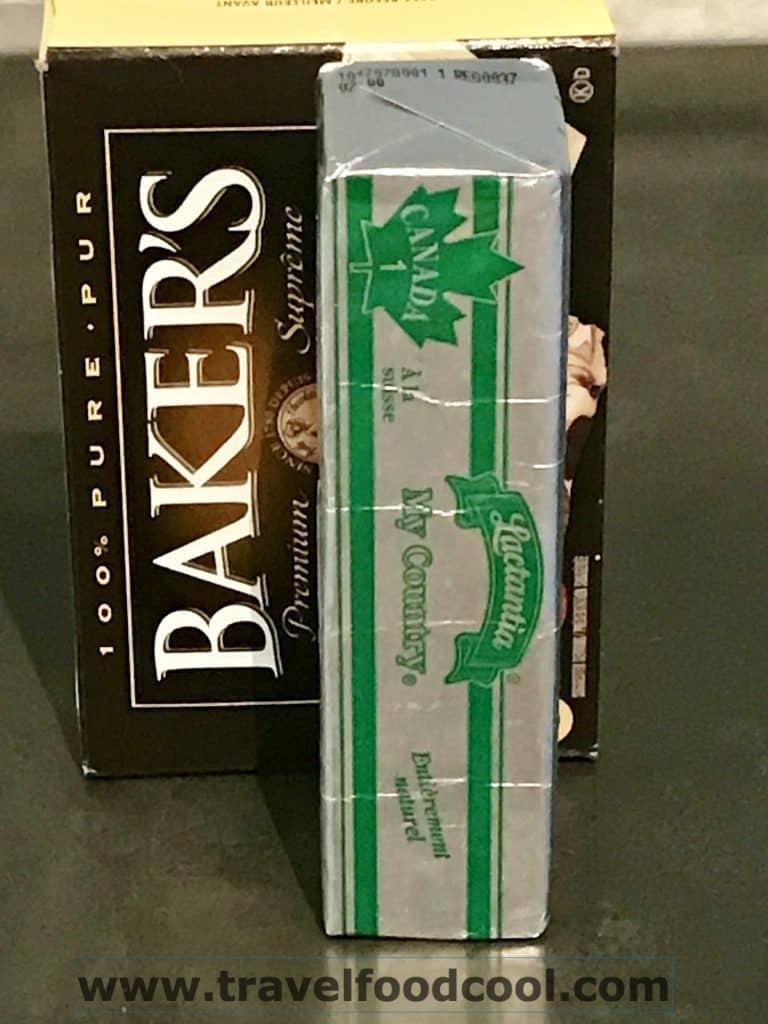
- 3 squares semi-sweet (or bittersweet) chocolate (1 oz. each)
- 1 tbsp. unsalted butter
What you do:
Bottom Layer
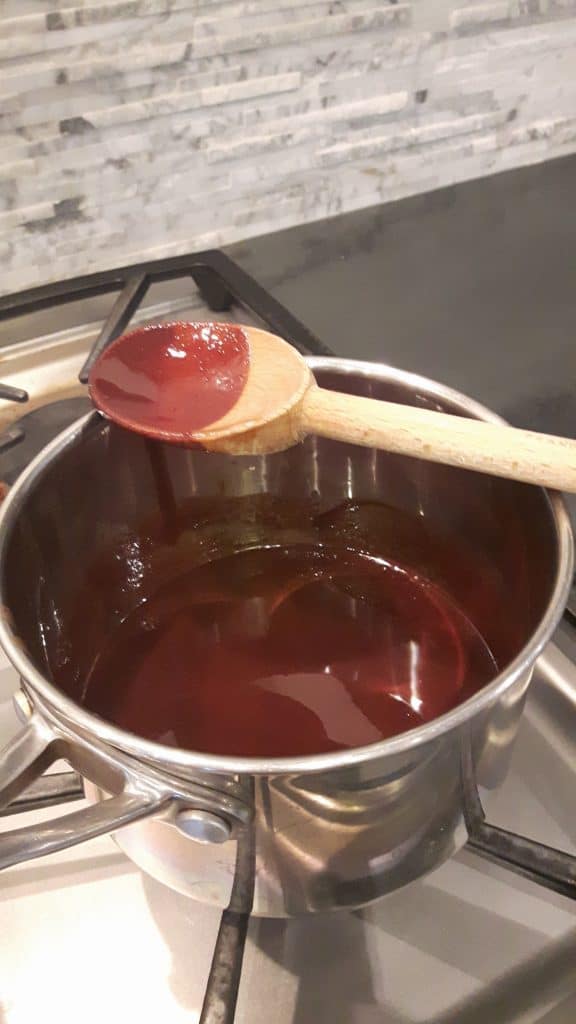
- Melt butter and chocolate in a saucepan over medium heat
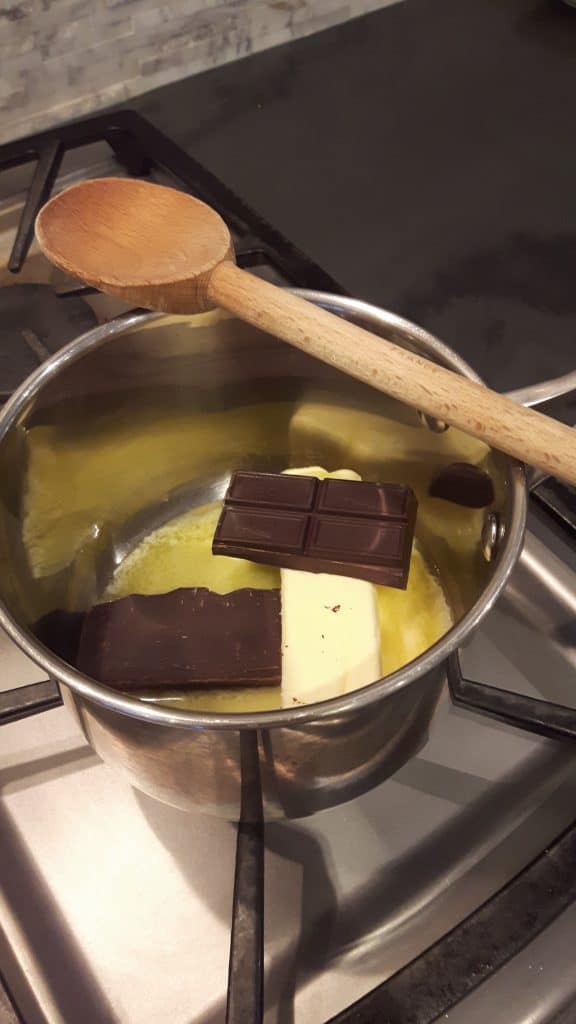
- Remove from heat
- Beat egg in separate bowl
- Slowly add the melted chocolate-butter mixture to the egg, being careful not to cook the egg, and stir
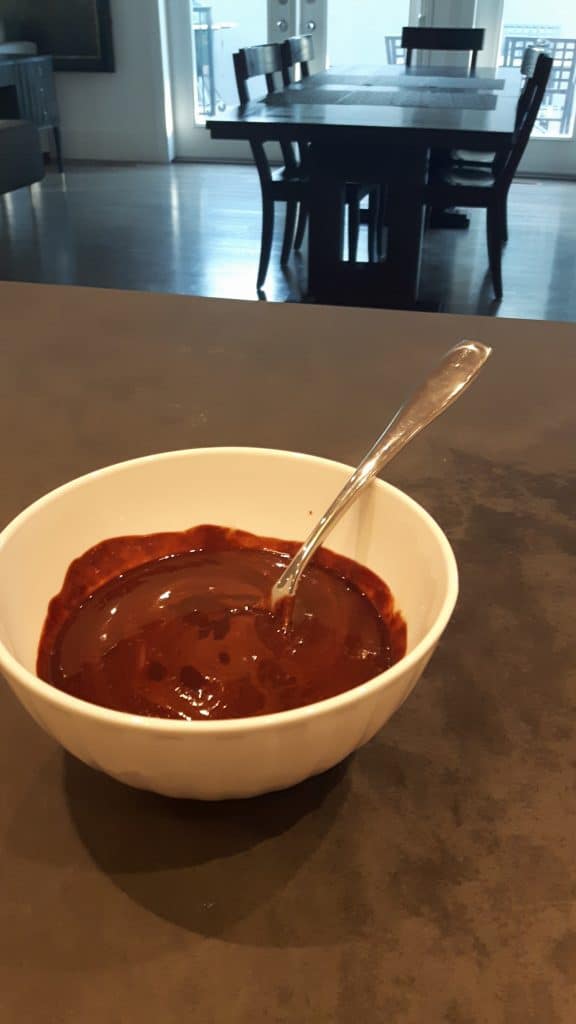
- Add vanilla
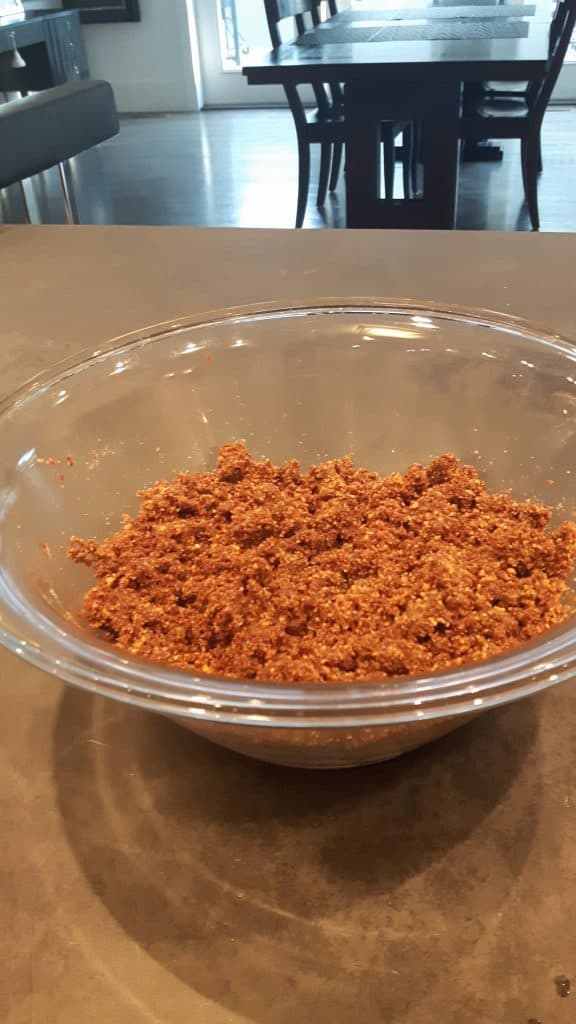
- Mix graham crumbs, salt and sugar together
- Stir in graham crumbs mix to chocolate/butter/egg/vanilla
- Press firmly into a lightly-greased 8″ x 8″ pan
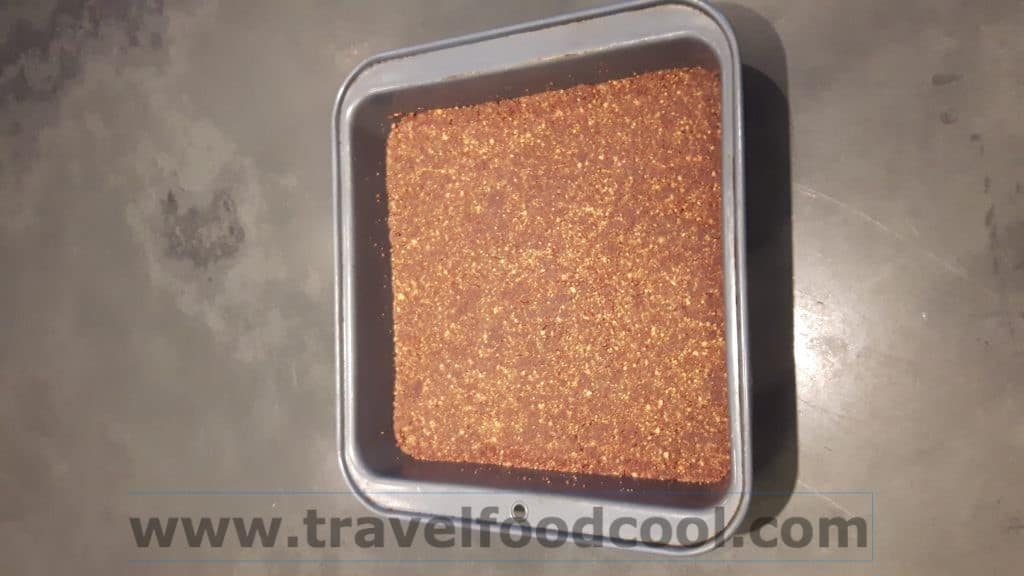
- Refrigerate for at least 20 minutes (while you make the second layer)
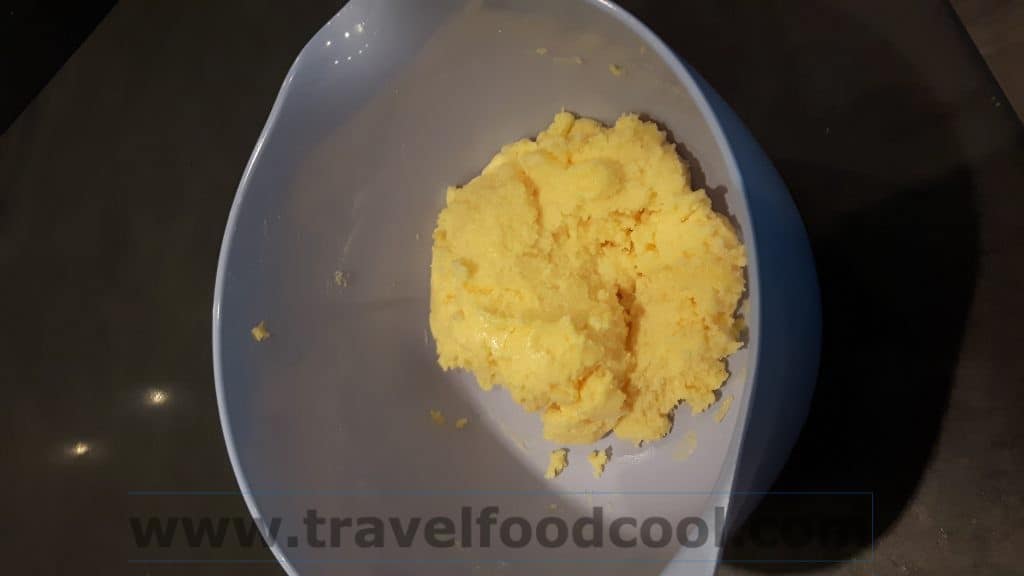
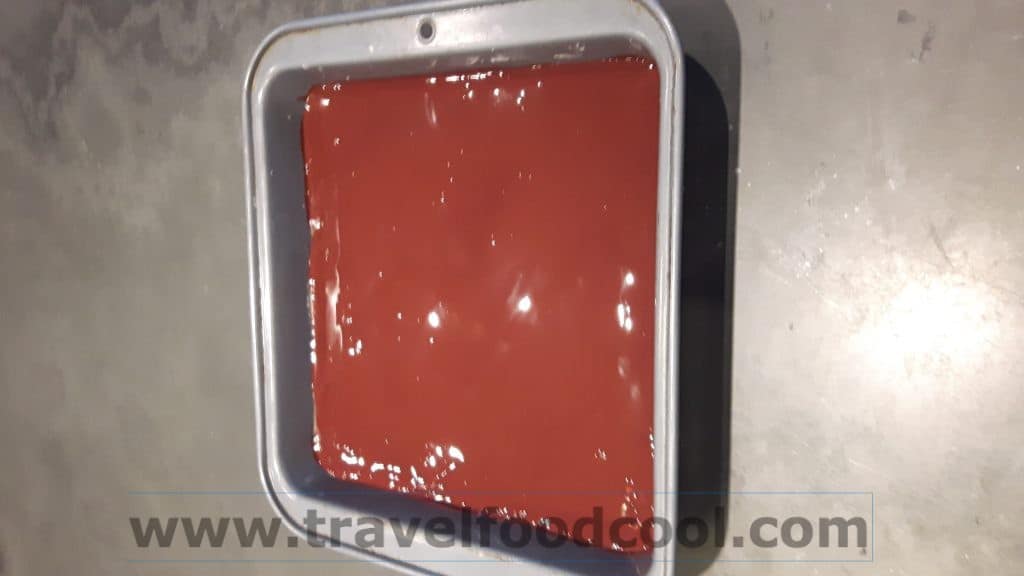
Second Layer
- Cream butter, milk, custard powder together so that the custard powder dissolves
- Add icing sugar
- Stir until just combined
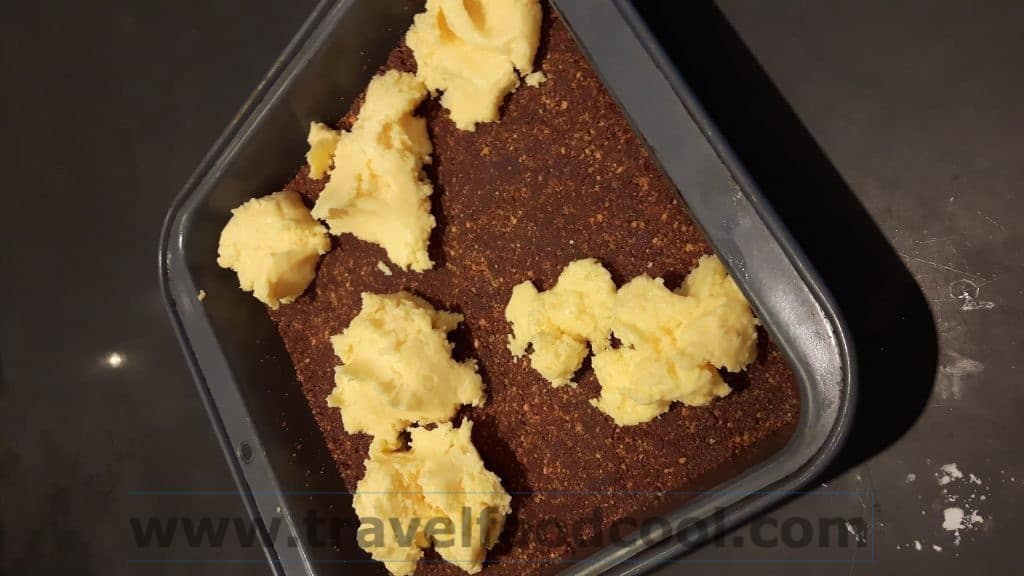
- Spread over chilled bottom layer
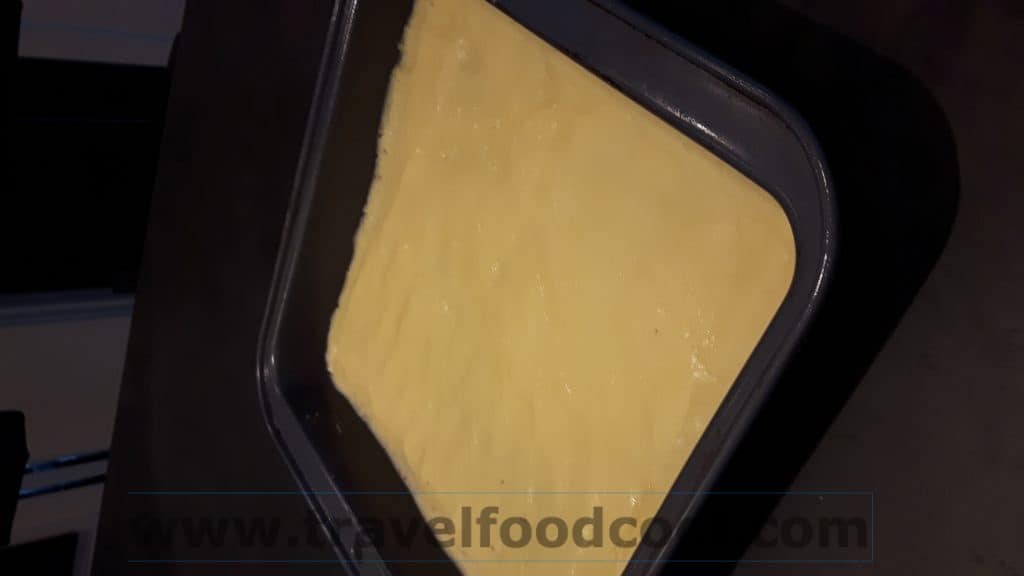
- Place back in refrigerator and chill for about a few minutes (while you make the third layer)
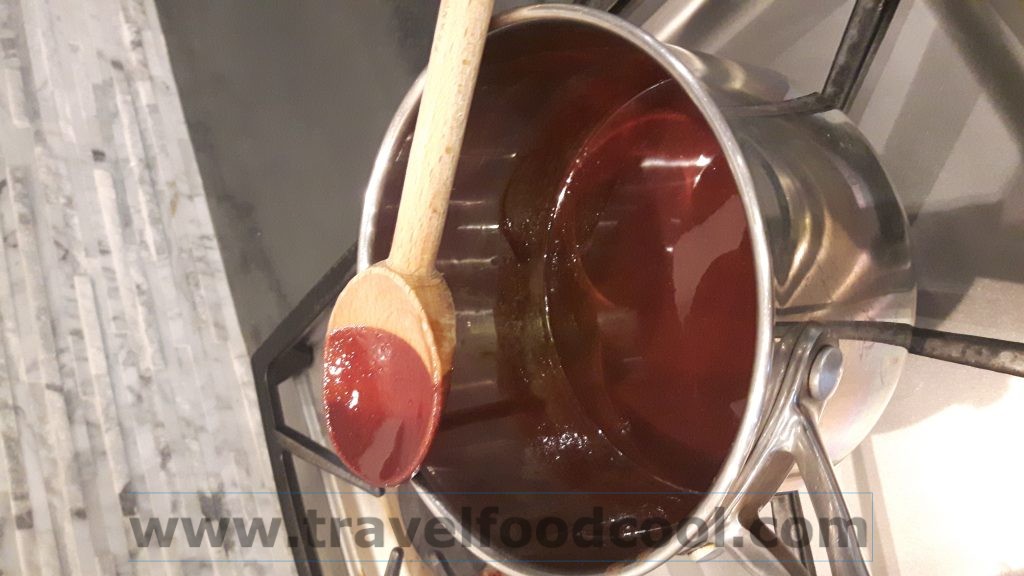
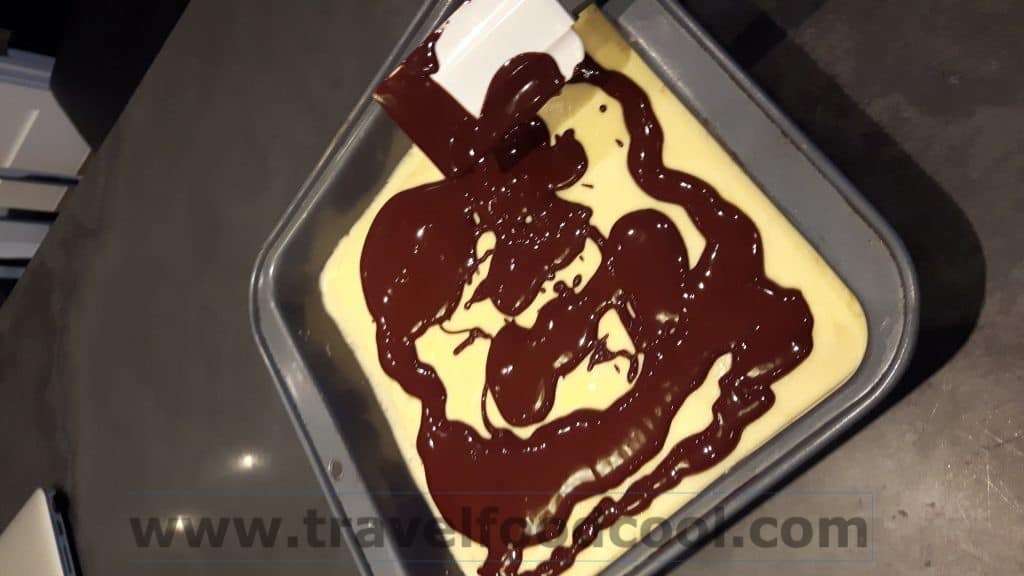
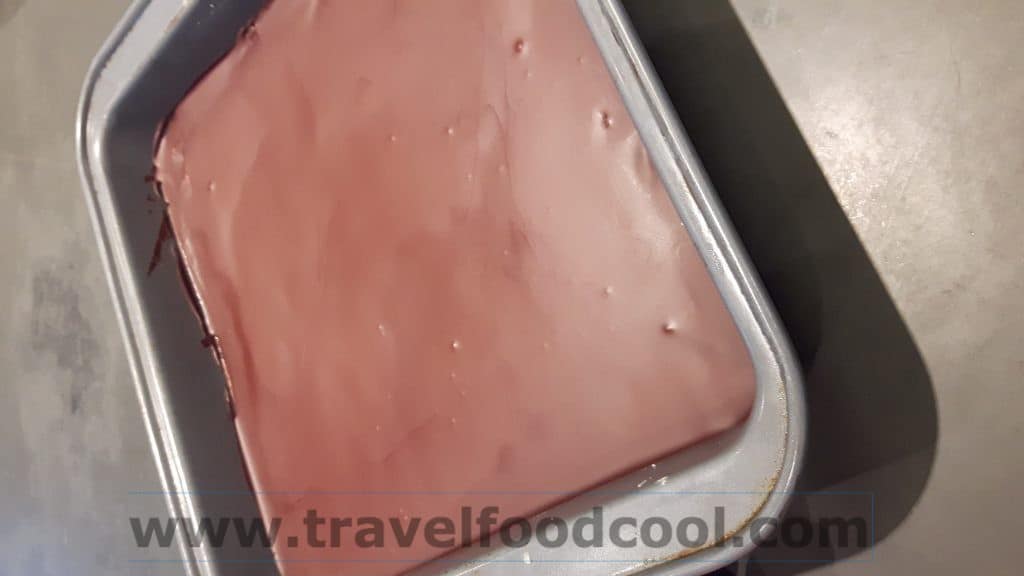
Third Layer
- Melt chocolate and butter over low heat
- Pour over the second layer and chill in the refrigerator
- Refrigerate 10 minutes before cutting, then let them sit in the fridge for an hour to chill (if you can wait that long!!!)
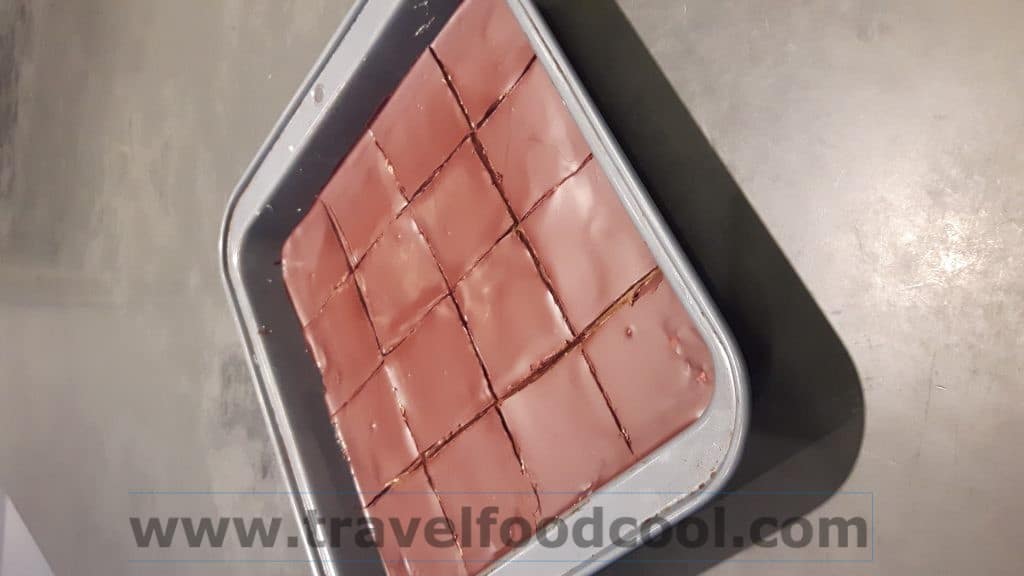

- SERVE!


Excellent job Katherine! now I can make nanaimo bars and adjust the sugar so they are not crazy sweet! perfect.
Karim, didn’t she do a great job?! The Nanaimo bars are awesome!
Hey Elin! I’ve always been intimidated about making Nanaimo bars but I’m going to try Katharine’s recipe – seems easy and straight forward with excellent step by step directions. So thank you! Now the challenge will be to keep the 60+ pounds off that I’ve lost with those yummy squares in the fridge lol!!
Natalie, congrats! I have to admit I found Nanaimo Bars pretty intimidating also but after enlisting an expert for this post they seem a lot more manageable! Let me know how they turn out if you make them.