Have you all heard about the famous “Elgin Marbles”? You know, the marble sculptures created by Phidias which originally resided in the Parthenon in Greece. Lord Elgin (Thomas Bruce, the 7th Earl of Elgin) acquired them over a 10-year period in the early 1800s by paying the Turkish government £39,000 (Greece had been part of the Ottoman Empire for 350 years at that point). There were some people that were extremely upset over this historic art “transfer” and likened it to looting (I’m looking at you, Lord Byron). Following a public debate in Parliament, the British government bought the Elgin Marbles from Lord Elgin in 1816.
The “Elgin Marbles“, or “Parthenon Marbles“, can now be seen in the British Museum. (If you get the chance, go see them, they are pretty impressive.) The collection includes 247 feet of the original 524 feet of the frieze, 15 of the original 92 metopes and 17 statues. Pretty amazing collection. Its ownership, although legally straightforward, has been controversial and, of course, the Greek government would like them back. Can’t say I blame them. Everyone likes white marble.

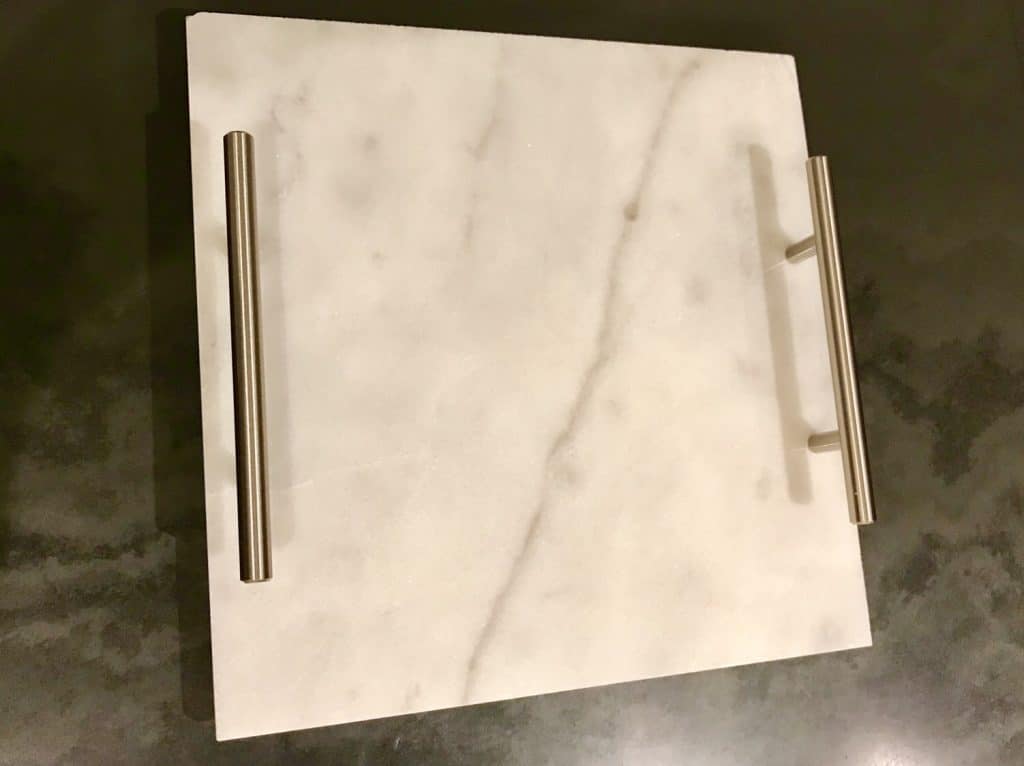
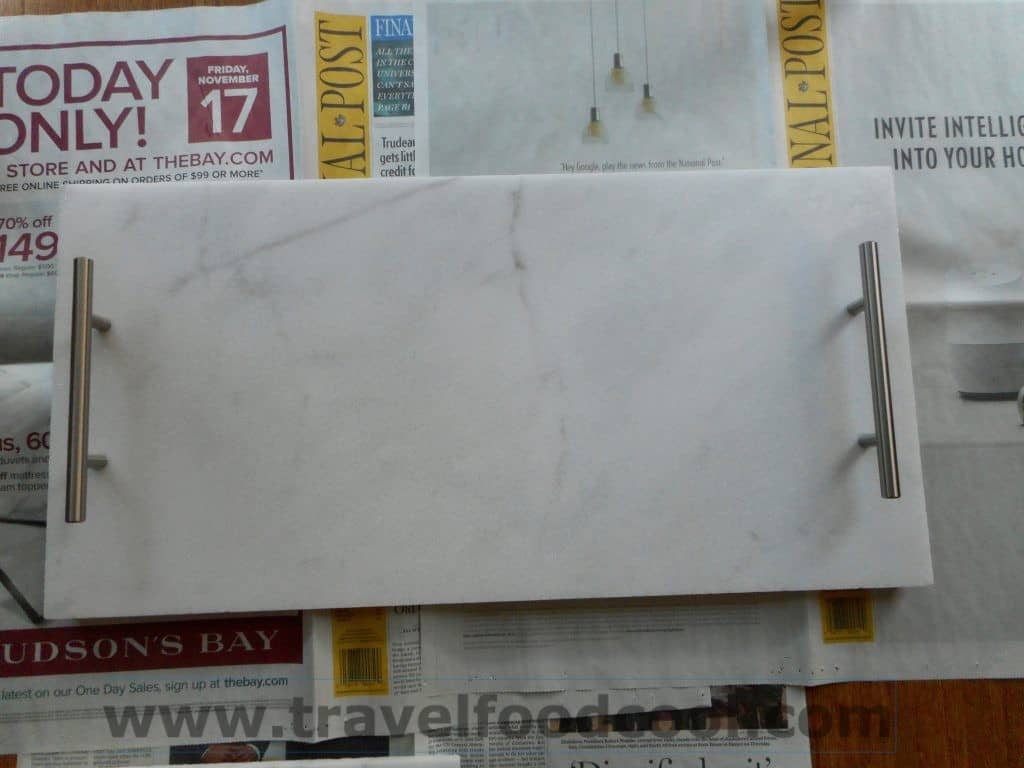
Looking for a holiday present for a gift exchange or loved one? The “Elin Marbles” will cost you a lot less than £39,000 and will look stunning on display at your next party.
I must give a huge shout out to my super-talented and creative friend Val, who writes the fabulous The T Blog. Val originally posted a variation of the marble serving tray on her blog. If you don’t already follow Val, please do! I love her posts and her desserts look like something out of a magazine! Thanks, Val!
The original post suggested that the handles be glued onto the marble tiles. This is easy to do and works well if you want the handles to be for decoration only. If you want to actually lift the board up by the handles, you’ll have to get a drill with masonry drill bits (and, if you are lucky, a friend like Laura, who came over with her drill and helped me make these. Thank you, Laura!).
These serving trays are great for cheese and meats as they stay slightly coolish. They also look very cool on your countertops! Best of all, everything can be found with one trip to the hardware store!
What you need:
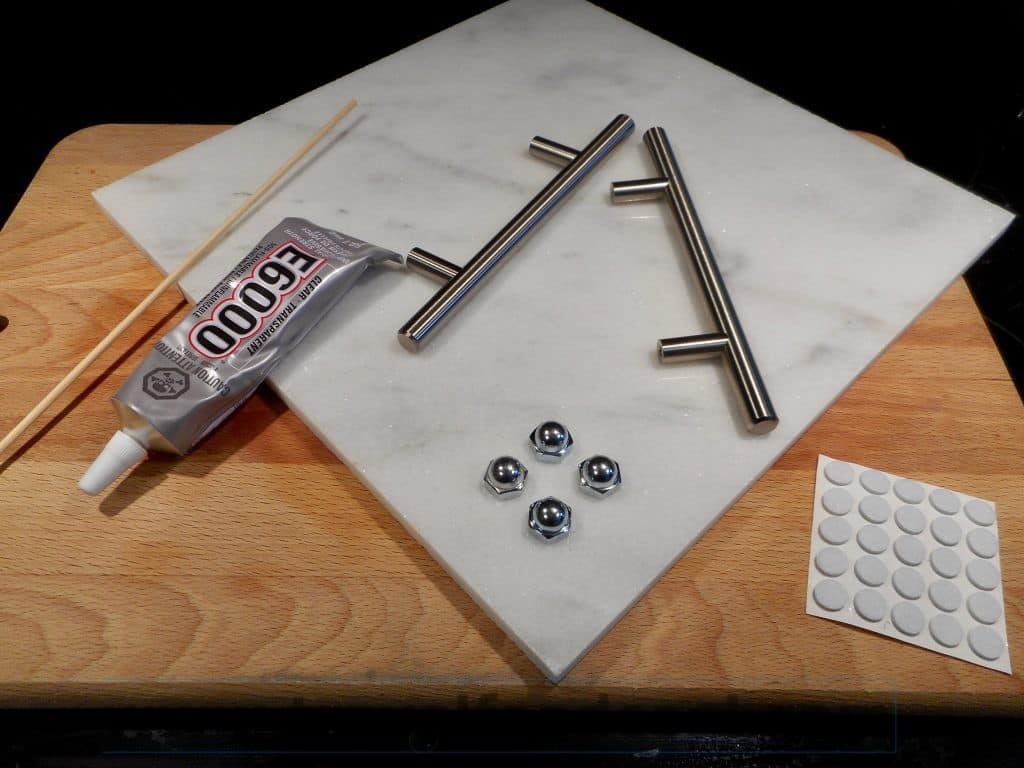
- Marble tile (I used both 12″x12″ and 12″x24″)
- Acorn bolts (4 if you making 12″x12″ – 6 if you’re making 12″x24″)
- Drawer handles (2) and screws (2)
- E6000 glue
- Felt pads (optional)
- Drill with masonry drill bits (if you want to permanently attach the handles to the marble)
- Squeeze tip water bottle (to keep your marble wet)
What you do:
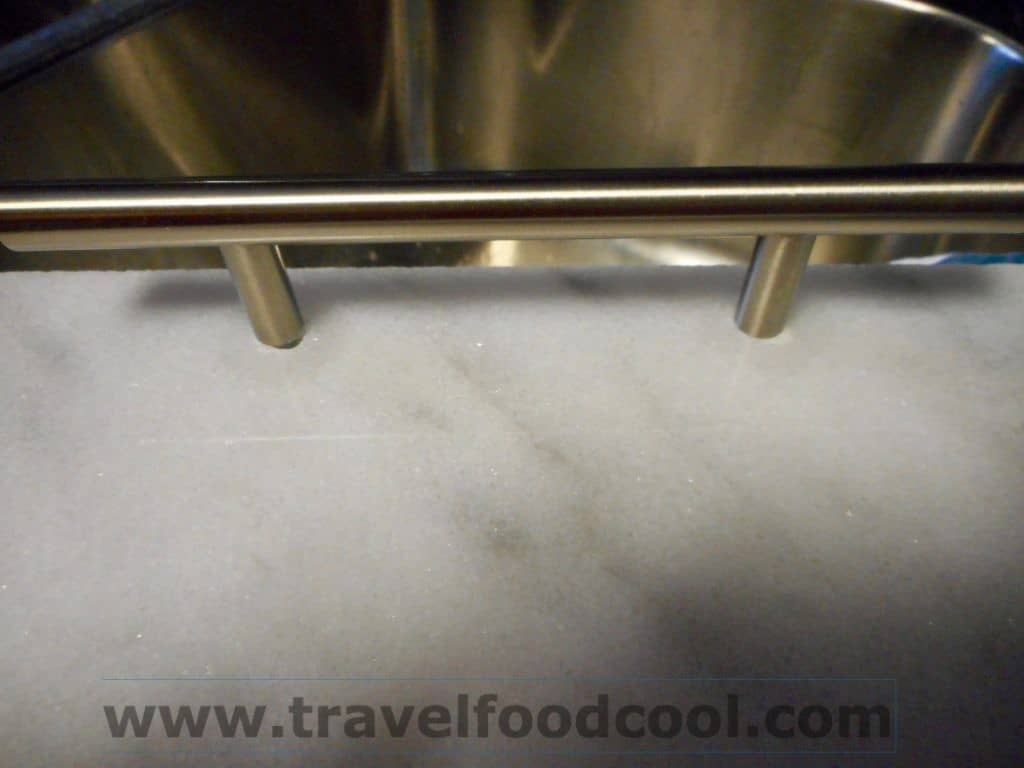
- Using the E6000 glue, glue the acorn bolts on the bottom (rough side) of the marble for feet
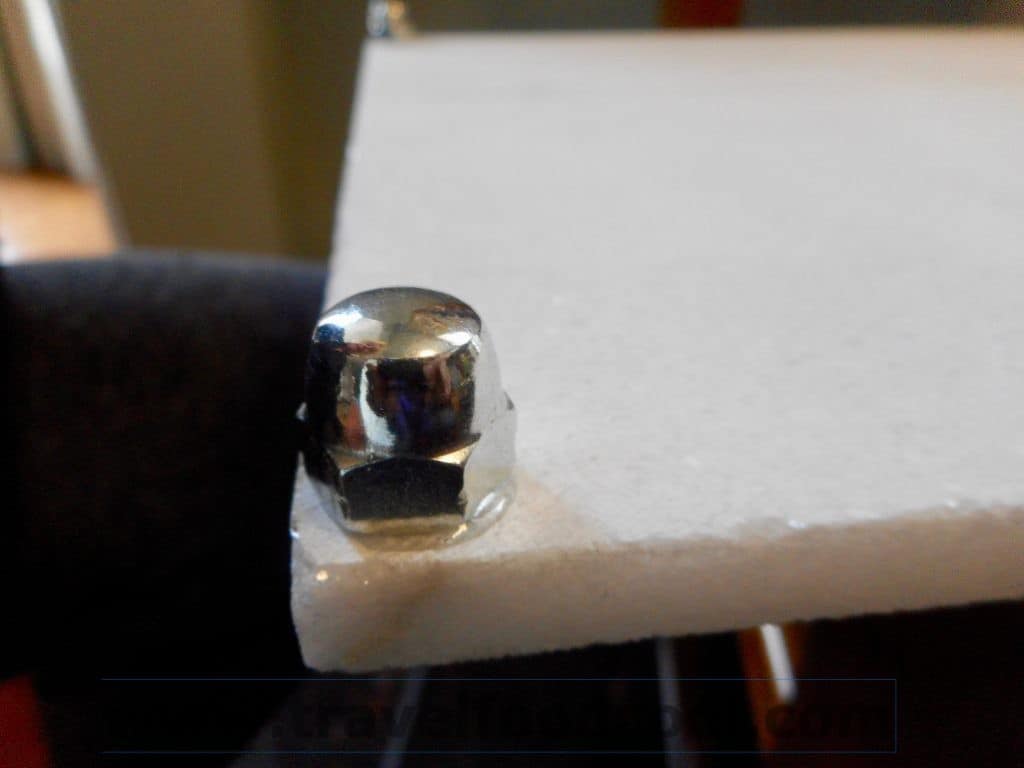
- Let dry for 1 day


- Mark where you want the handles to go – for decorative handles, glue handles in place
- Let sit 24 to 48 hours
- Note that gluing the handles is for decoration. You can NOT pick the trays up by the handles – the handles will come off
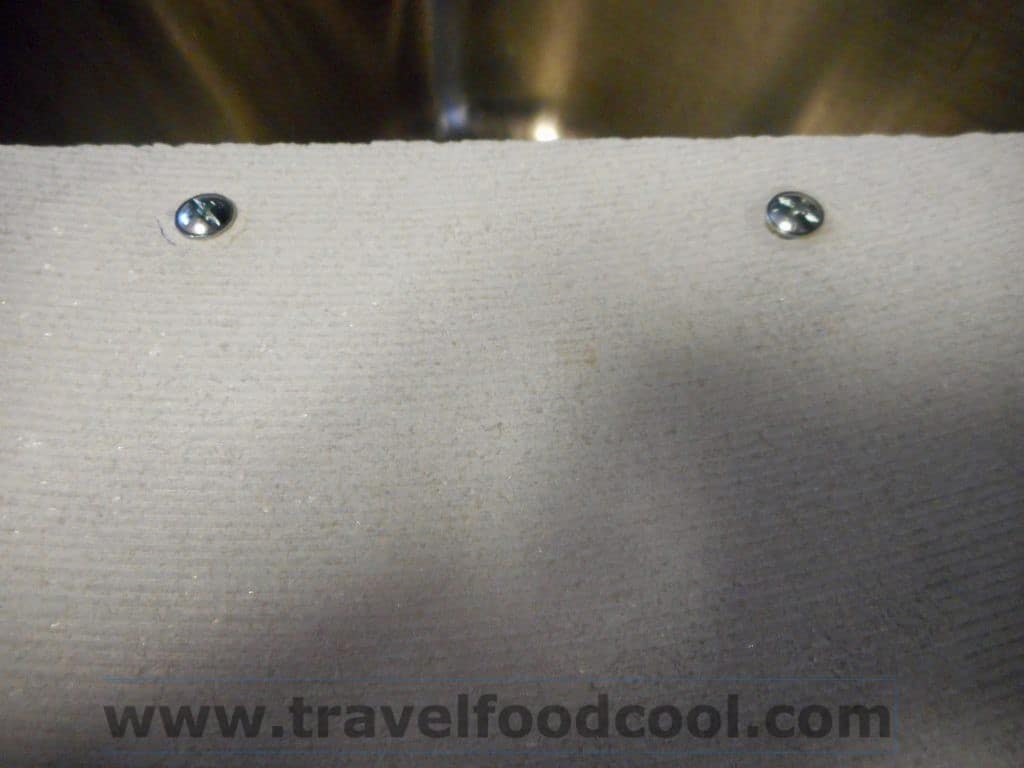
- To make functional handles, you will have to drill through the marble and attach the handles with screws
- To attach handles – on the reverse (rough side), measure and mark your handle locations
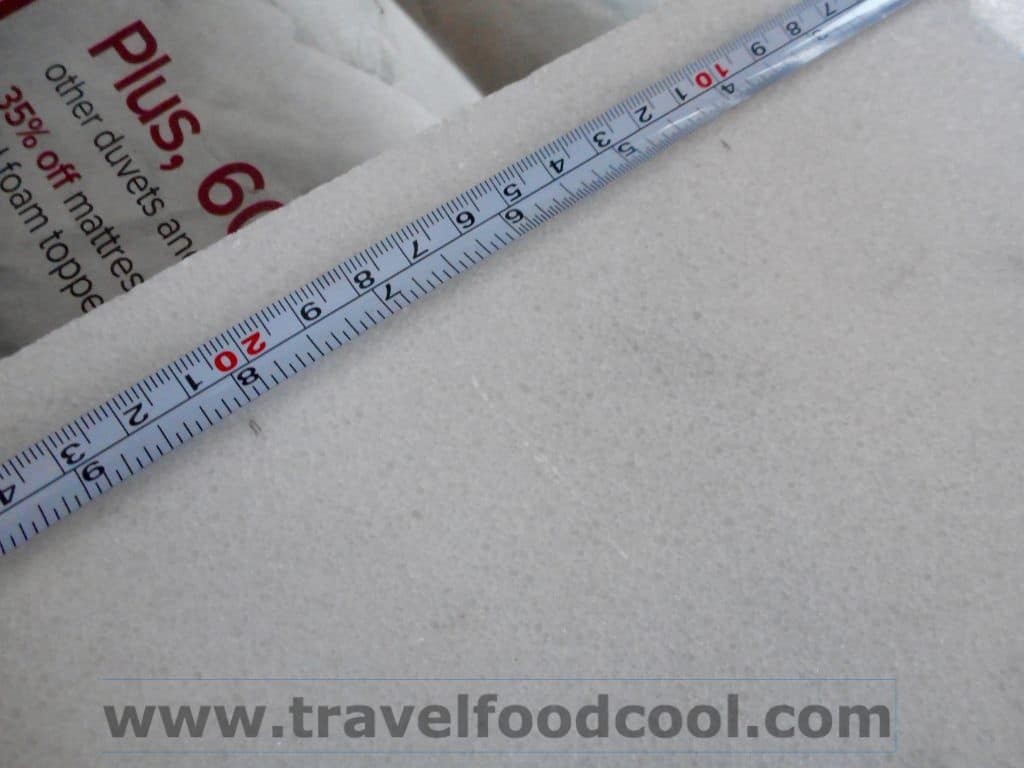
- With a nail, scratch the surface to create a small nick in the marble
- Using your drill, select the bit that best fits the size of your screws
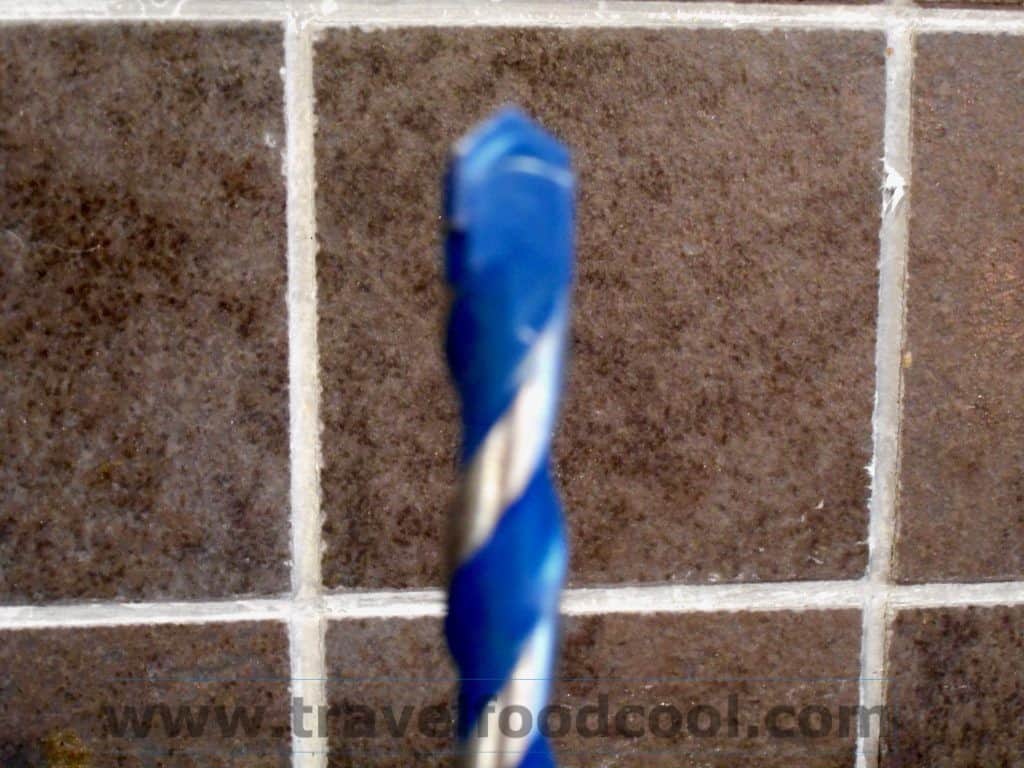
- Lining the drill bit up with the scratched surface, start to drill your hole
- As you drill, you will need to keep the surface fairly wet, use your water squeeze bottle to wet the area as you drill

- Once the hole is through the marble, re-measure to make sure that the second hole is still in the right spot before drilling; adjust if necessary
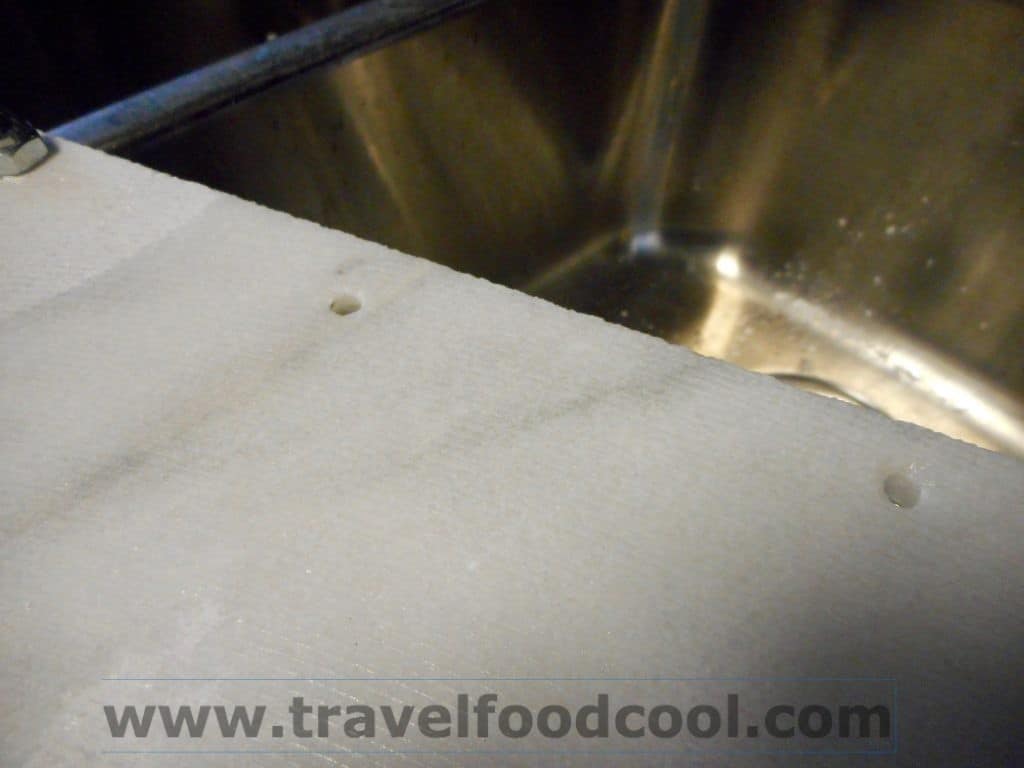
- Repeat the drilling procedure on the other side of the tile
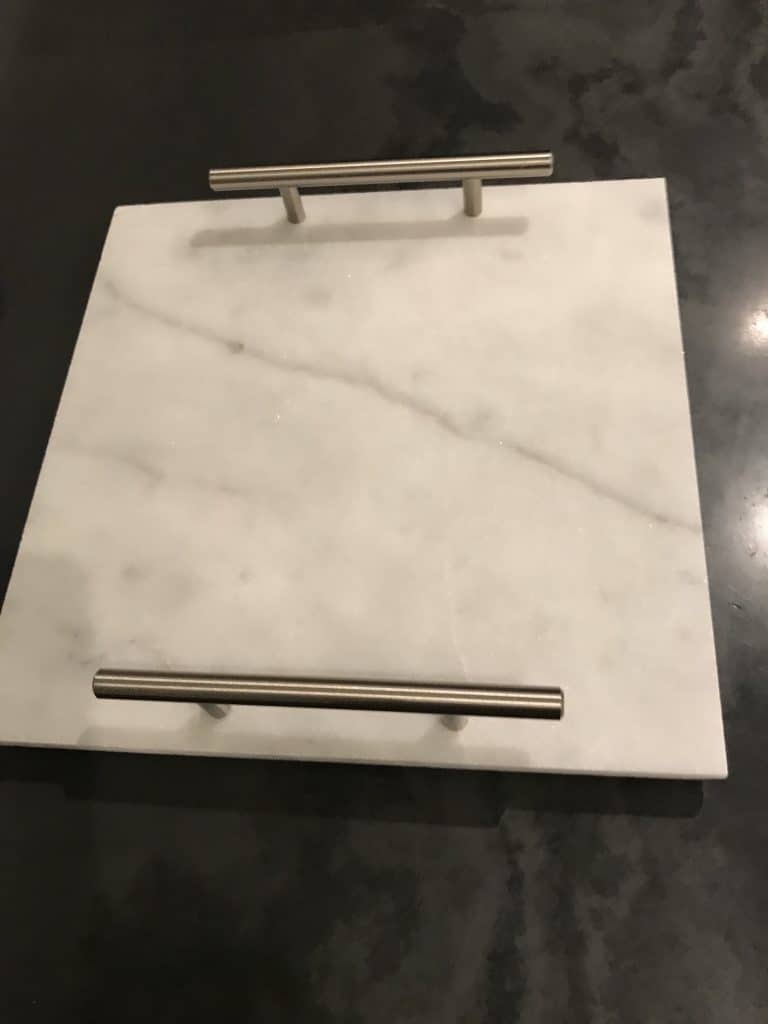
- Once all four holes are drilled, line up your handles (on the correct side) and screw the handles in place
- Voila!
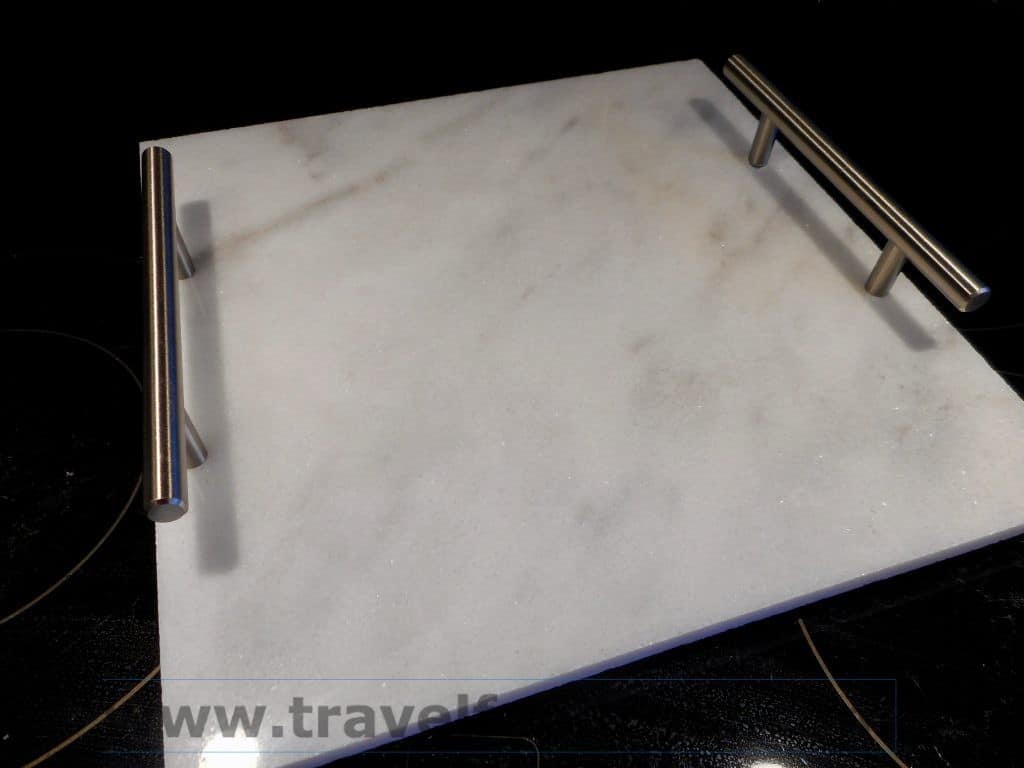
- Serve away!
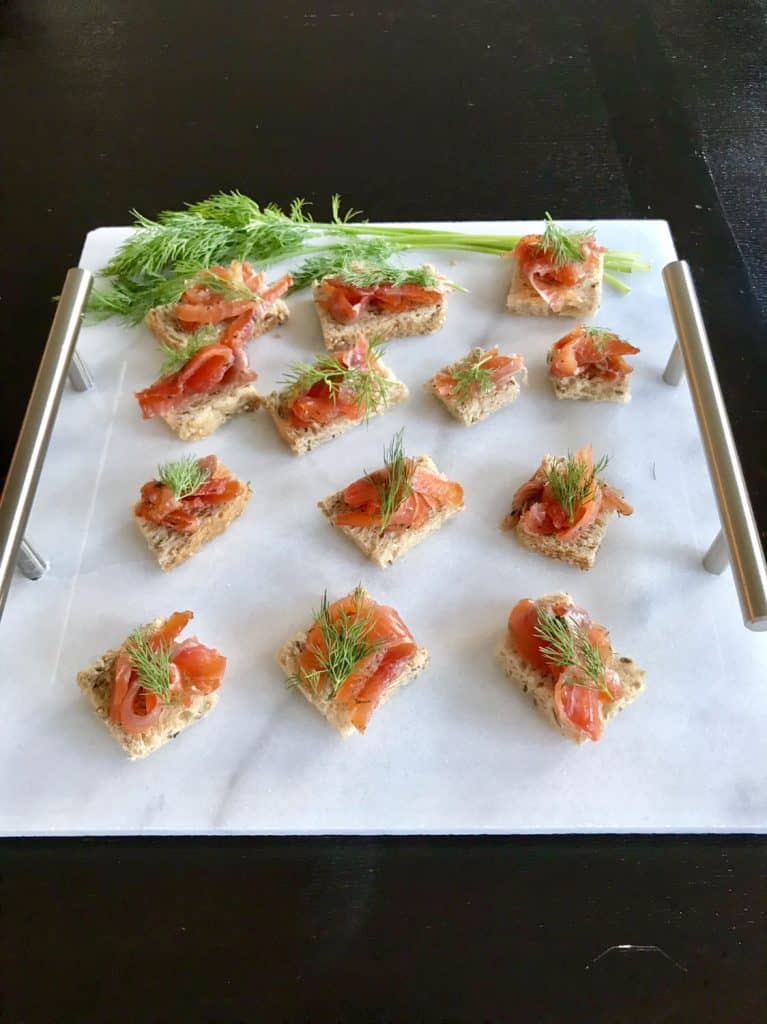
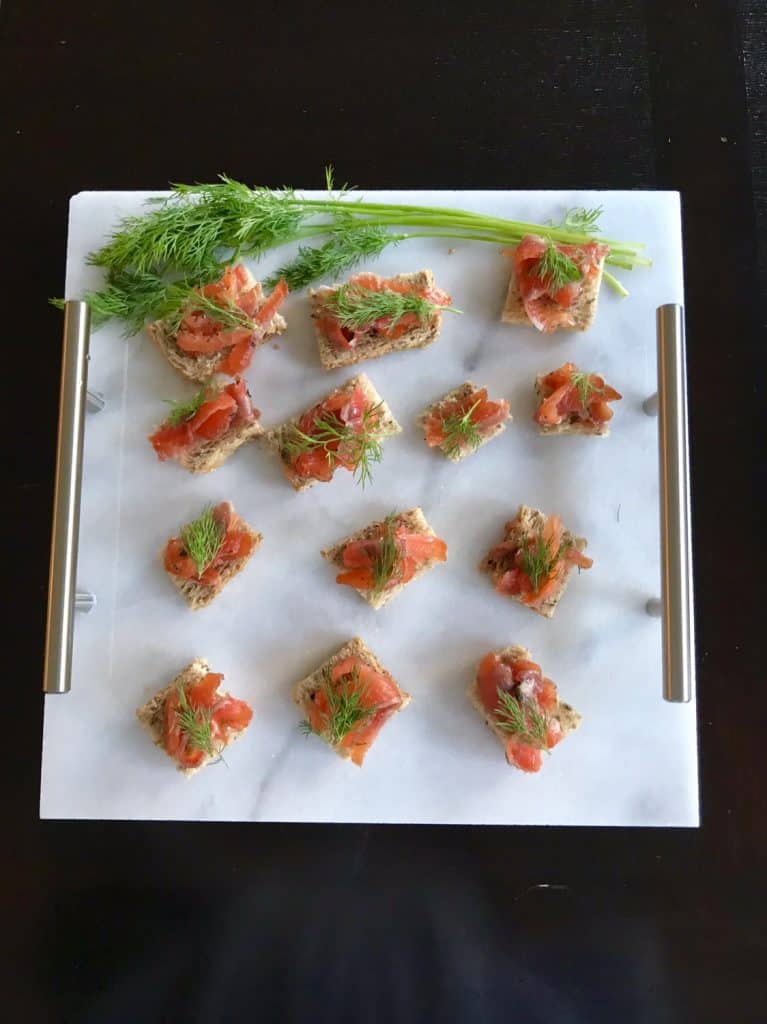
- Shown with last week’s Relaxed Gravlax


I love this idea! I might make them for Mark’s parents and sister for Christmas. Does it have to be Carrera marble, or would other soft marble work, too?
Let me know how they turn out! You can use any type of marble, I think. I just went to the big box hardware store and bought marble tiles. Laura was also going to give granite and slate a try.
beautiful!
Thanks Jane!
Love my marble serving tray Elin. You are amazing.
So glad you liked it! I was really happy with how they turned out! I can see this being a project in your future!